It feels great to finish a project.
Even though it took at least 6 months to get this one done, it became just what I knew it could be.
Here it is in bookcase beginning sadness. Not only did it look like most other little bookcases, but when we brought it home one of the lower doors came off.
So what to do with this little bookcase...
First I removed the cabinet hardware and filled in the holes.
Then off to Walmart for some inspiration. There I found this spray paint in the clearance aisle. And to my surprise, really great fabrics.
I removed the back board and wiped on sander deglosser.
In hindsight, I wouldn't do this on this kind of piece. It caused some parts of the particle board to bubble. Instead I recommend lightly sanding, then applying a really good primer.
Next I ironed the fabric, and applied it with mod podge to the backboard.
Measured and cut, leaving room for red paint for the bottom shelf.
Then used the staple gun to secure the fabric around the back. If you don't have a staple gun, you could just glue the fabric in place.
Next up primer.
Then spray paint.
Except that didn't work very well.
Despite my best spray painting techniques, it was very blotchy.
And I
may have over-sprayed the red onto the deck.
I was highly frustrated with myself.
I don't recommend ANY of those steps.
I bought new paint in a can. Red Geranium...again Walmart.
Next I slightly sanded it to take off the sheen of the spray paint, wiped it down, and painted three coats with a brush this time.
I painted the bottom of the back board with the same red.
Then reattached the back board with little nails. "Hammer hammer hammer", as my nephew would say.
I like the semi-gloss finish of the paint.
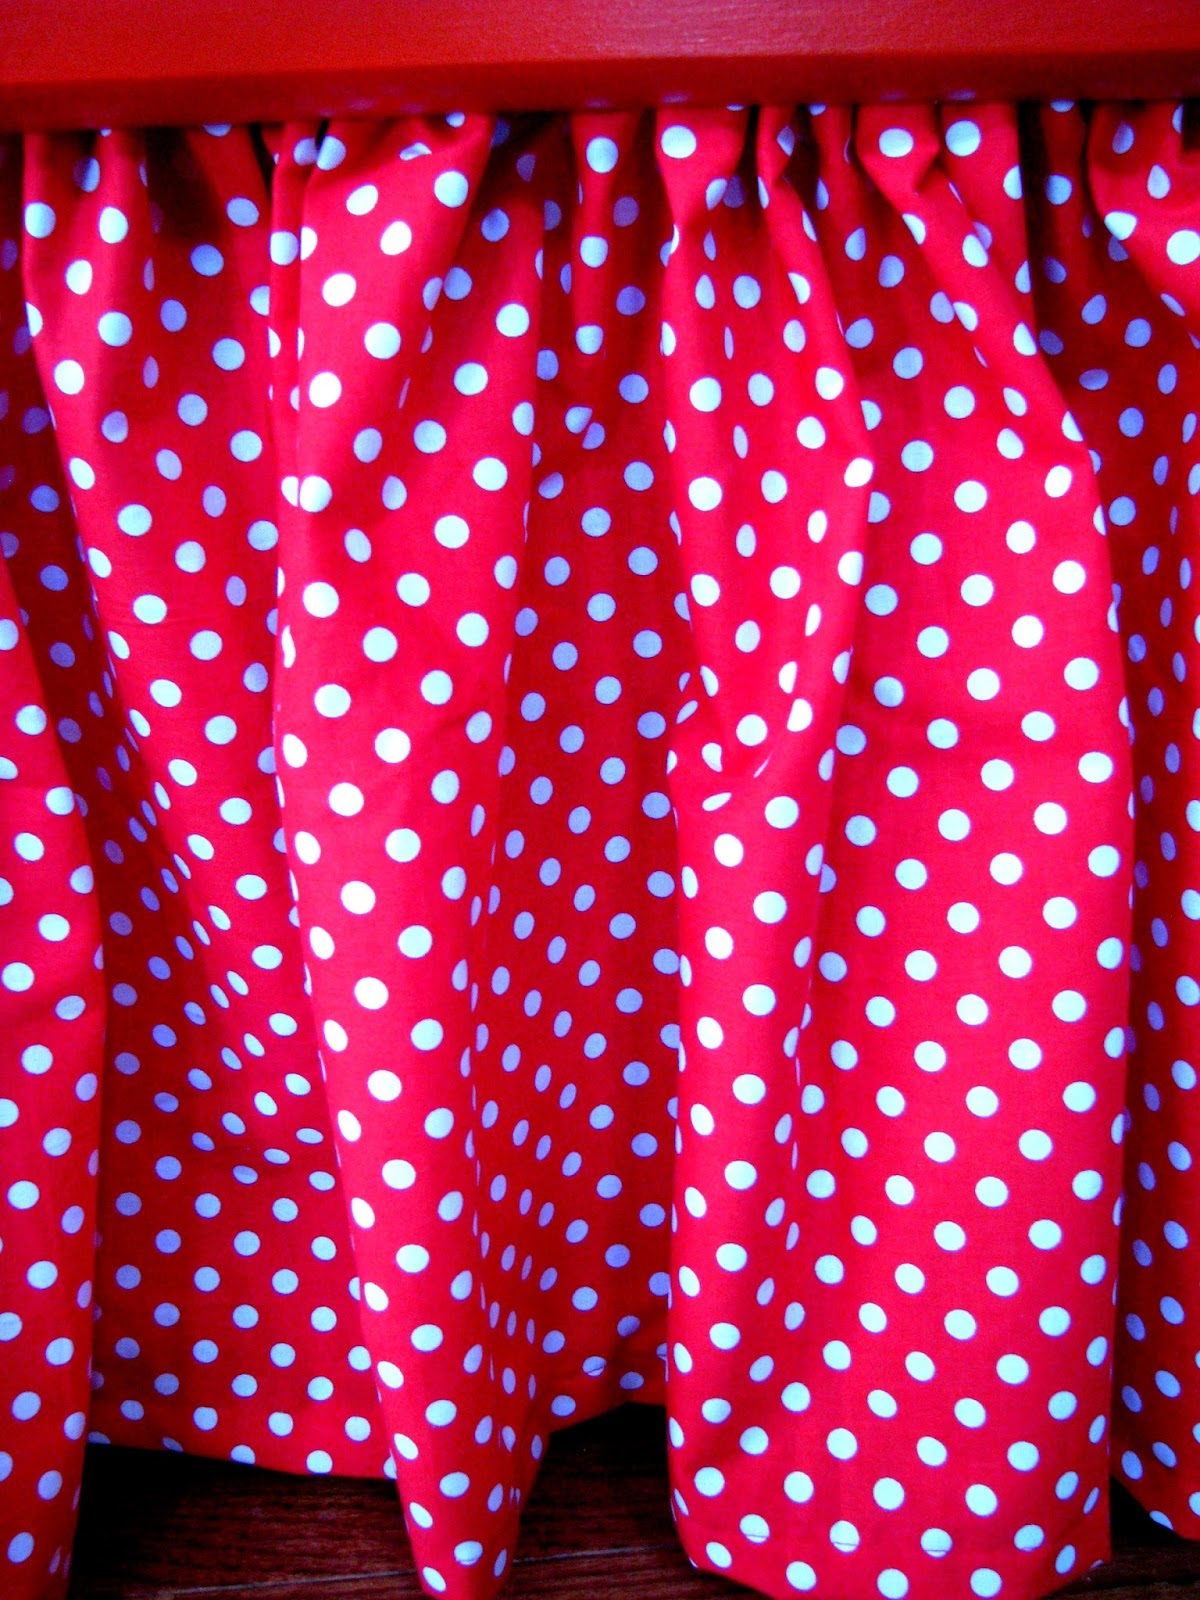
Now for the curtain.
I bought this little tension rod at Walmart, and sewed two little curtains for the bottom shelf.
A good rule of thumb for how much curtain fabric is needed is to measure the width of the space you'd like to cover (usually a window). Then double that measurement for the fabric width.
Next I sewed up matching pillows, using matching fabrics and images cut from the Paris fabric.
Here's a fun, money-saving tip for pillow stuffing...instead of buying it from the craft section, I bought an over-sized sleeping pillow from Walmart. There's lots of fluff in one pillow.
I hand-stitched (straight stitch) the images onto the pillow, then frayed the edges.
Added a little Eifel Tower from the lobby for my hobbies.
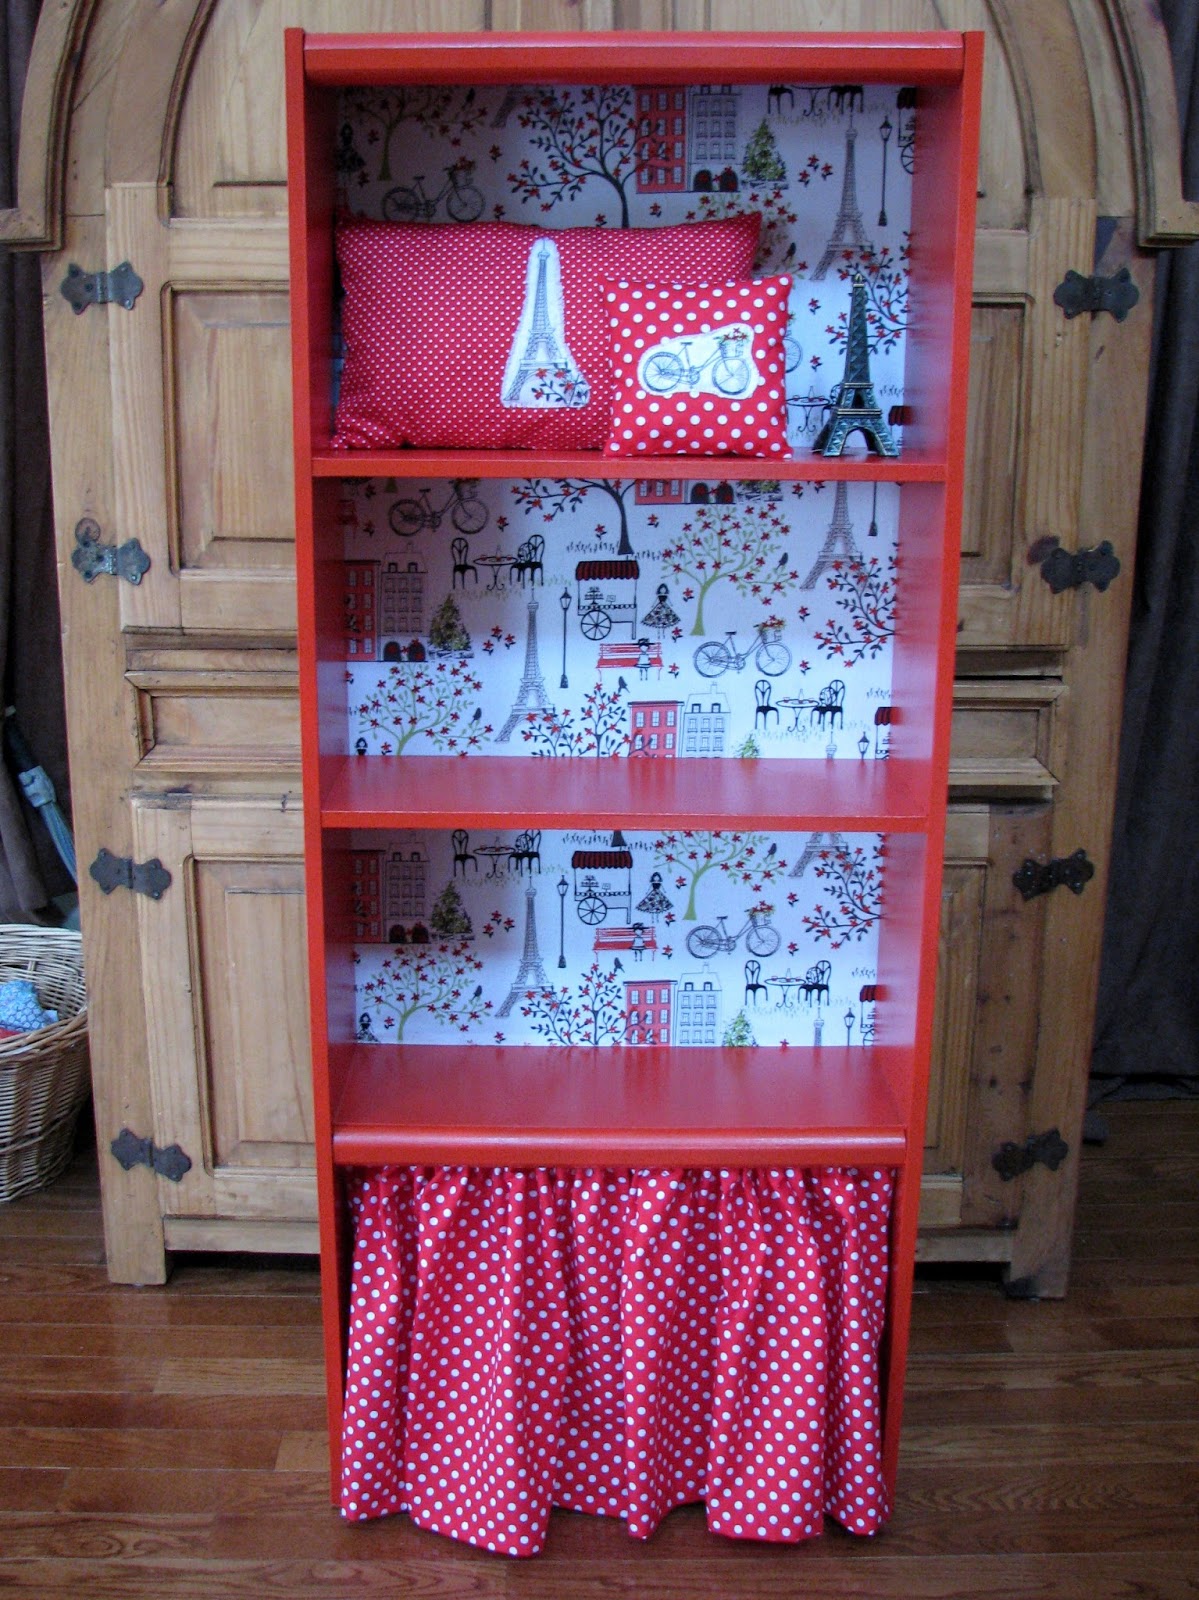
Finished and ready to sell.
This would be so cute as a store or craft display...but personally I hope that someday it will add joy to a little girl's room.
How are you making your today world beautiful?


You are an inspiration to this fellow upcycler and bargain buyer. (Or as the people who can't see past some broken hinges, rips, or ugly paint...dumpster diver) ;) LOVE IT!! ♡♡
ReplyDelete-Joy333
Thanks Joy...your projects inspire me as well...Dumpster Diving Proud!
DeleteI LOVE EVERY aspect of this project! Colors, fabric, pillows! Awesome job! And for the stuffing tip (I do a lot of pillows!)!!!
ReplyDeleteThanks Kris! That means a lot to me. I actually used one of your pillows to determine the size of the Eiffel Tower pillow. Your crafts for the button action definitely inspired me this year.Thanks for sharing your tips and stencils with me...here's to many many more pillows ;)
DeleteGirl......you have a creative mind as big as your heart. This is so lovely.
ReplyDelete